One of the most common tasks we do as either a Systems Administrator or NOC (Network Operations Centre) is to ensure that your software that you and your customers use is kept up to date to ensure that you get the most out of the application, whether that be stability, performance or security. This is particularly important for your backup applications, without having a stable and secure backup can leave your business vulnerable to being unable to restore in the event of a disaster.
Here in this article, I’ll take you through how easy it is to keep your Veeam Backup for Microsoft 365 up-to-date.
** Before we get started: If you are running your backup in a virtual machine make sure to take a snapshot of the VM before updating. This will allow you to roll-back in the event something goes wrong **
…and don’t forget to remove the snapshot once confirmed the update is a success!!
Another thing to check before getting into the upgrade is to check the system requirements to make sure that there have not been any changes. If there have been requirement changes and your VBO server isn’t running the right amount, you will receive a warning during the install to advise you that the server does not meet the minimum requirements.
Update Process
One of the great time savers Veeam have built into their Veeam Backup for Office 365 is the online update function. Here you just need to run a “Check for Updates”and proceed as per the wizard.
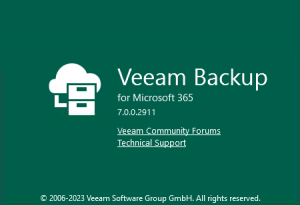
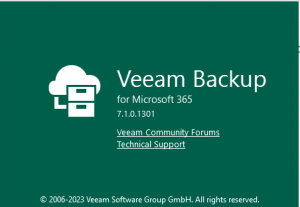
- First thing we need to do is take note of the version of Veeam Backup for M365 we have installed. Although in the next few steps we cover checking for updates, this creates our baseline to be able to confrim a successful install at the end.To check the current version. Select the Hamburger Menu -> Help and Support -> About
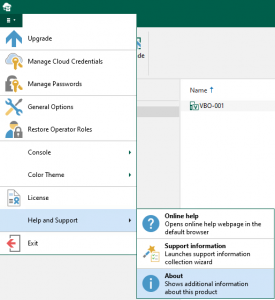
- From here, if you haven’t done it yet, make sure you take your snapshot before proceeding.
- Once you’re ready to proceed, it’s time to kick off the update:Select the Hamburger Menu again -> Upgrade
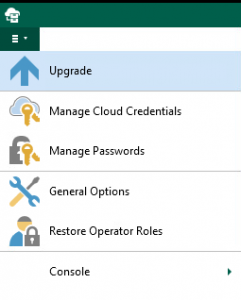
- A wizard will open up. Here in the first screen, you will see Veeam running a quick check for updates, then open up another screen to show the update that is available. If there is an update available, you will then get a link for “What’s New” where you will be able to see a summary of what has been added and resolved in the update.
If there are updates for the Veeam Explorers for Sharepoint, Exchange, Onedrive and/or Teams, then updates will be displayed here also.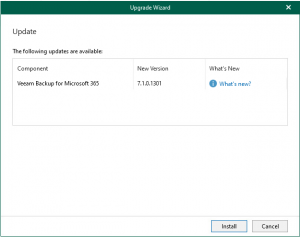
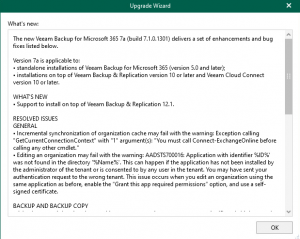
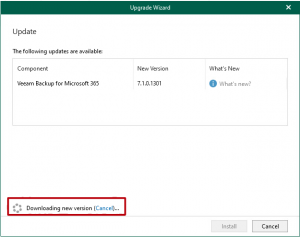
- Once you have confimed that you are happy with the changes, you can click “Ok” and proceed with click “Install” – The wizard will remain on the update screen until the updates have downloaded. Once the download has complete the wizard will continue with the installation.
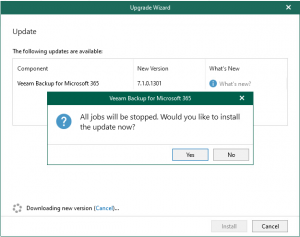
- All the above steps could be performed while your jobs are still running, but sensibly, you would have stopped them as part of your change control before proceeding with the update. However, if you had not stopped your jobs, or one accidently started, the wizard will advise you that it is ready to stop all jobs and confirm that you are ready to install the update.
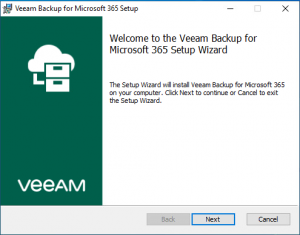
- The wizard will close along with the Veeam Backup for M365 console and it will open a new installation wizard from the downloaded update file. From here, it is just a series of clicking next until the install takes place.
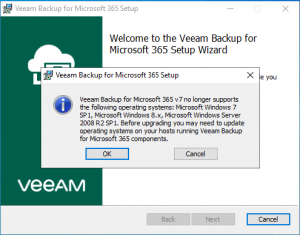
 Regardless of the operating system is that you are installing onto, a pop-up will show up to advise you that Microsoft Windows 7 SP1, Microsoft Windows 8.x and Microsoft Windows Service 2008 R2 SP1 are no longer supported and you MUST upgrade your Windows installation before proceeding.
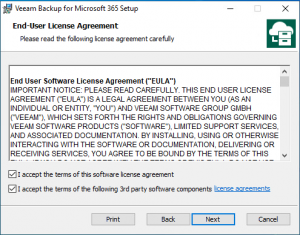
- Read thoroughly through the EULA – You will need to tick the boxes and agree to the EULA before you can proceed with the install.
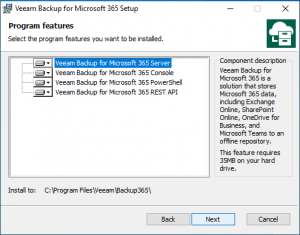
- Confirm that allthe components that you want to upgrade have been selected. All components are selected by default, however, you may want to only update certain ones, you can deselect if needed.
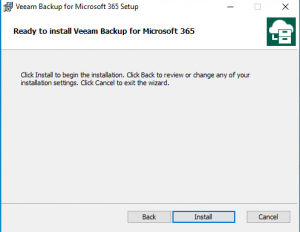
- The final screen for the installation is to confirm your’re ready to install. Once you click Install the installation will take place. This can take anywhere between 1 – 5 minutes to completed.
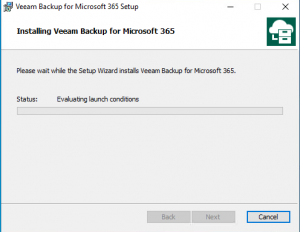
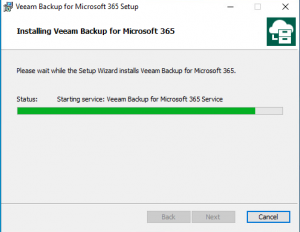
- The install will also start your Veeam services as the final steps, this will confirm that the installation was successful and there are no issues that arose from the install process.
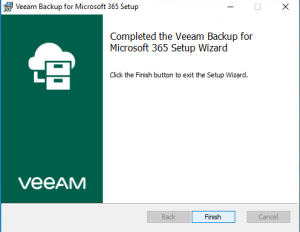
- Once the installation has complete, you will see the final screen where you can click Finish to complete and close the install.
- As we did earlier at the start, it is now ideal to open up Veeam console and go back to the About section to confirm the update was indeed successful and you are running the latest version.
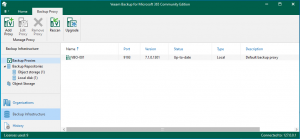
- Once confirmed, you can then move over and check if there are any additional updates/upgrades that need to be applied to the the Backup Proxies or Backup Repositories. These will show up under the Backup Infrastructure “Backup Repository” and “Backup Proxies” – If you are running the proxy local on the same server that you just updated Veeam Backup for Microsoft 365, then it will update at the same time.
- Finally as part of your Post Checks for your change control, run a test job and confirm that everything is connecting and running as it should. If there are any issues, you always have your snapshot to fall back on.
Previously I had created a video on how to peform a major version upgrade from Veeam Backup for M365 v5 to v6, in this video I also cover the repository and proxy upgrade process.
P.s. Don’t forget to remove your snapshot after running your tests
